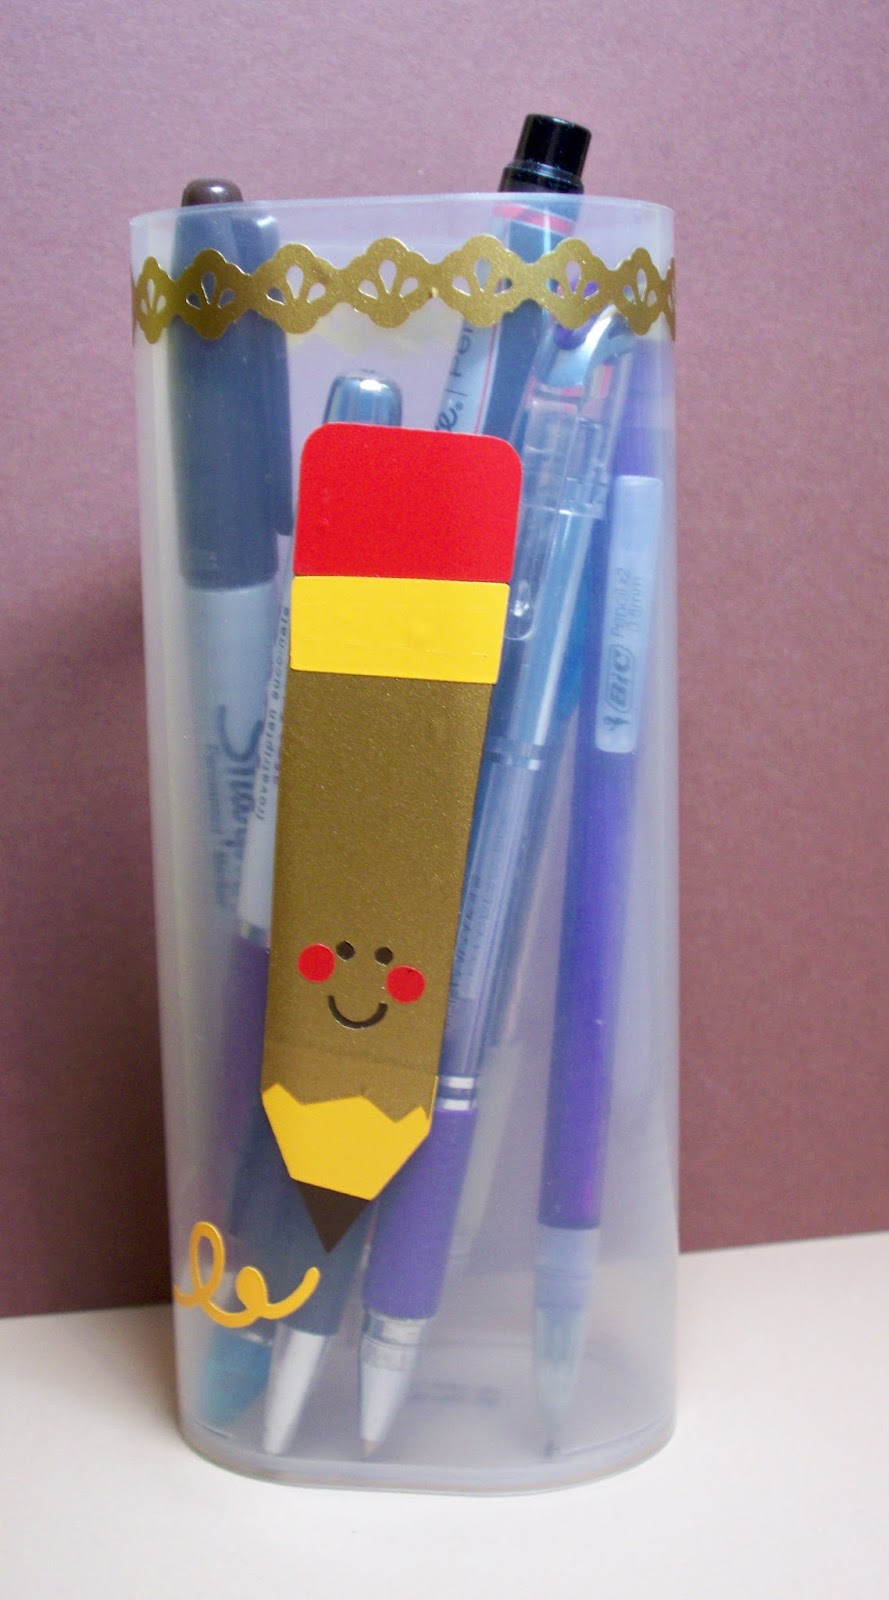
I started with this empty container, added some vinyl, and ended up with this cute pencil holder.


I used the Simply Charmed cartridge for the cute pencil. I tried this project once before with a different cartridge and it cut differently than I expected it to which caused some wasted vinyl. Hopefully my mistake will keep someone else from doing it.
I decided to do a test run with paper this time. I set my Cricut as shown below to cut the vinyl. I had the blade depth at 3 for the first try, but raised it to 4 on the red vinyl as it seemed a bit thicker. I also turned on the multi-cut feature to get a clean cut for weeding purposes.
 |
| excuse the dust! |

I didn't change the settings, but I could see which way it was going to cut and how long a piece of vinyl I would need.
 |
| I didn't change the settings so I outlined it so you could see. |
I cut the trial piece 4" and made my final piece 4 1/2" since I had a little more room than I originally thought.

Here is the base piece cut out with the transfer tape on top. I am very stingy with my supplies of this and only use what I need. I burnished the image onto the transfer tape to avoid wrinkles, etc.

After the pencil had adhered to the transfer tape I removed the backing and added it to the container. I added the rest of the layers and ended up with this cute little guy!
I will admit I had a hard time getting the layers to line up but it was worth it in the end. I ended up cutting the transfer tape right next to the straight edges on the larger pieces in order to get them sort of lined up.
I made one discovery that I was pleased with. I found out that at least some of my punches work with vinyl. I wanted a little accent around the top and used an EK Success punch to create it.
I'm not sure if this is going to school or keeping me company in my craft room. I'm happy with it either way. Thank you Cricket Vinyl Supplies for the opportunity to have all of this fun!!
(If you haven't done it already, check out my post from yesterday so you have an opportunity to win the blog candy from the blog hop.)
This is so adorable!! It was worth the effort!! Thanks so much for the awesome tutorial!! And it's great to know that some punches work with vinyl - I'll have to pull mine out and play with it!! Have a great day :)
ReplyDeleteLisa
A Mermaid's Crafts